Setting Up Active Directory
In this post I will setup a Windows lab running Active Directory on Windows Server 2022. Active Directory is used to manage users, computers and permissions within a Windows domain. I will setup one Domain Controller running Windows Server 2022, and then join a couple of PCs running Windows 11 to the domain.
Once the initial Windows Server install is complete, set a static IP address and set the hostname, then restart. Once complete, Server Manager will automatically open up. From here Active Directory Domain Services can be installed and I will also be installing and setting up the DHCP role for clients to obtain an IP address automatically.
Installing Roles and Features
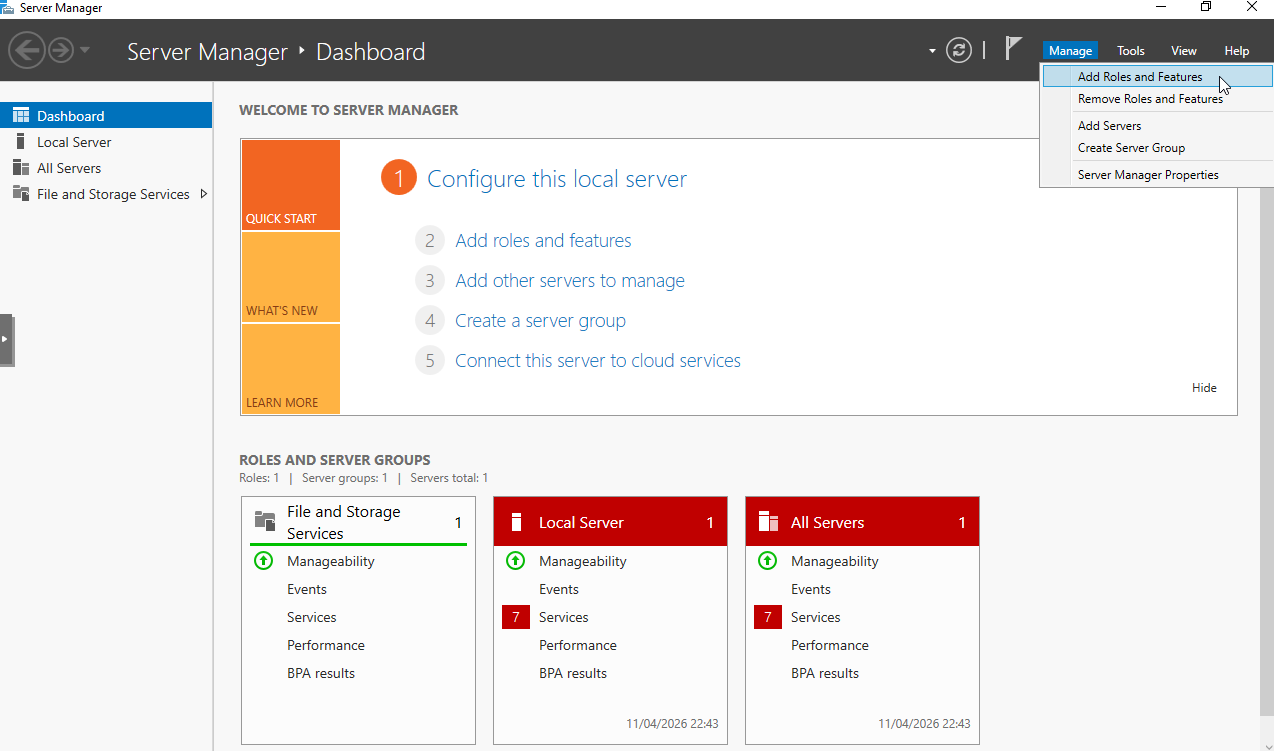
In Server Manager, click on ‘Manage’, then ‘Add Roles and Features’ to bring up a list of the roles that can be setup on the server.
 Add Roles and Features
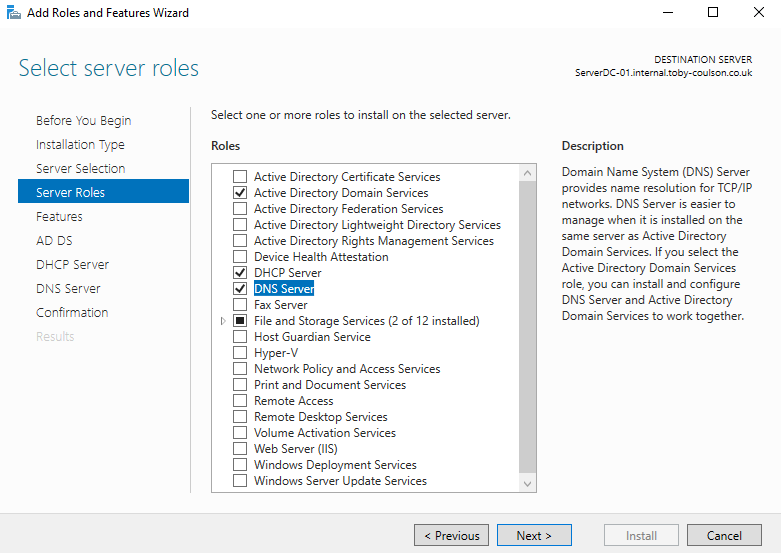
Leave ‘Role-based or feature-based installation’ checked and press Next. The server should already be selected on the next page so click Next again to view a list of roles that can be installed. From here click on ‘Active Directory Domain Services’, ‘DHCP Server’.
 List of Server Roles
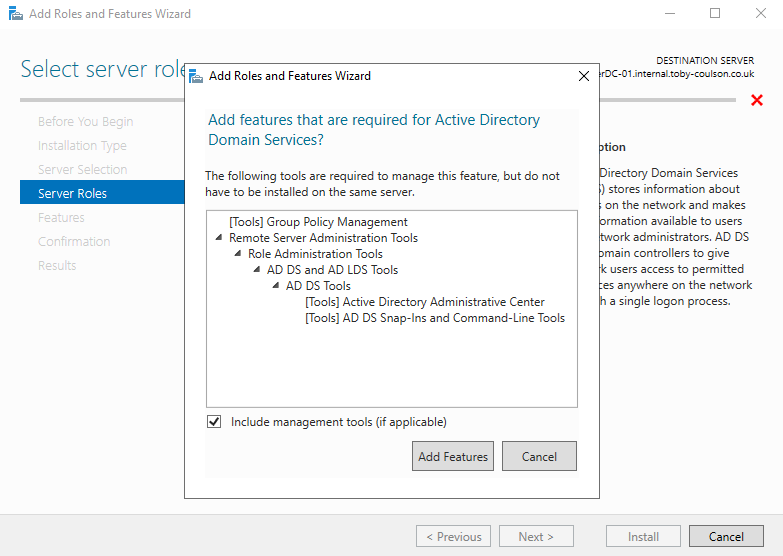
Clicking on each will inform you that you cannot continue without installing a number of other features. Click on ‘Add Features’ to install these too, then click on ‘Next’.
 Additional Features
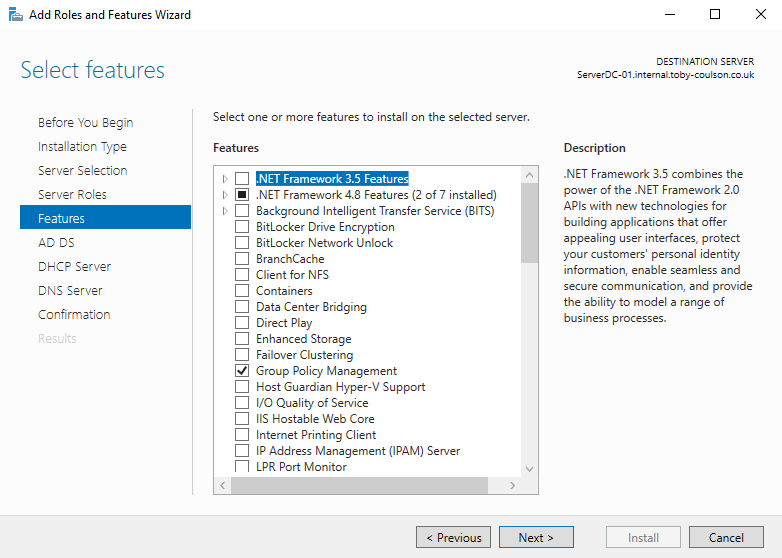
On the Features page, the default can be left selected so click on ‘Next’ again.
 Features
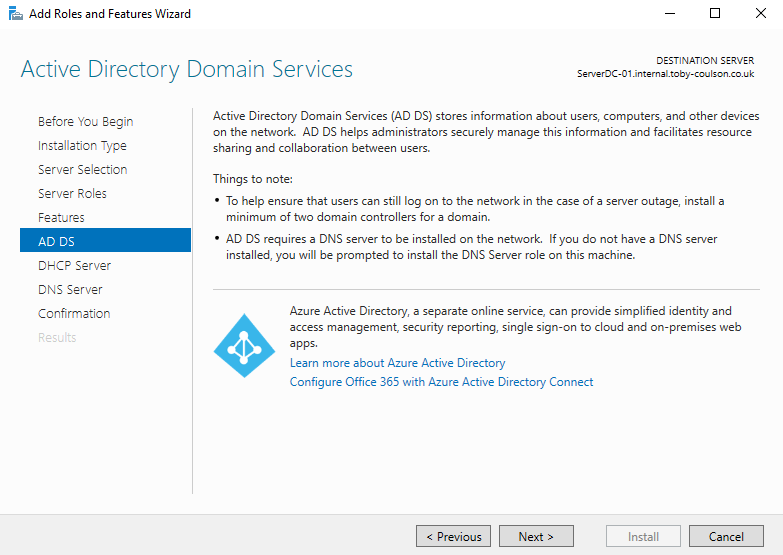
The next page will inform you that you are setting up Active Directory Domain Services and give you a bit of information about what you are installing. There is also an important note about ensuring you have redundancy by setting up at least two domain controllers per domain. I will go through adding a second domain controller at a later date. It also informs us that DNS is required (this can be checked during the add roles page but is not required to be checked as it will be installed anyway). Click on ‘Next’ to continue again.
 Active Directory Domain Services
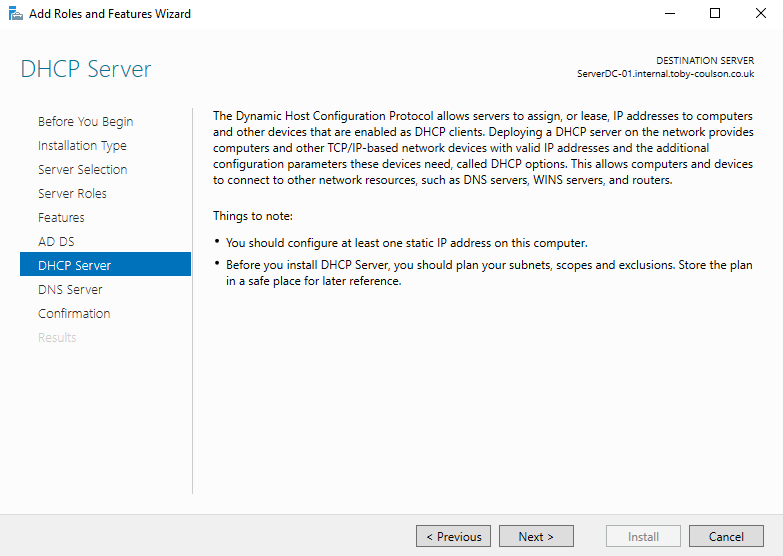
The DHCP Server page will give you a brief explanation on what the DHCP server provides and informs you that you should set a static IP address for your domain controller, along with ensuring you have a plan for your IP subnets. Click on ‘Next’ to continue.
 DHCP
DHCP
The DNS page describes the purpose of DNS. It also informs us that the DNS server role is required when setting the Domain Services role.
 DNS
DNS
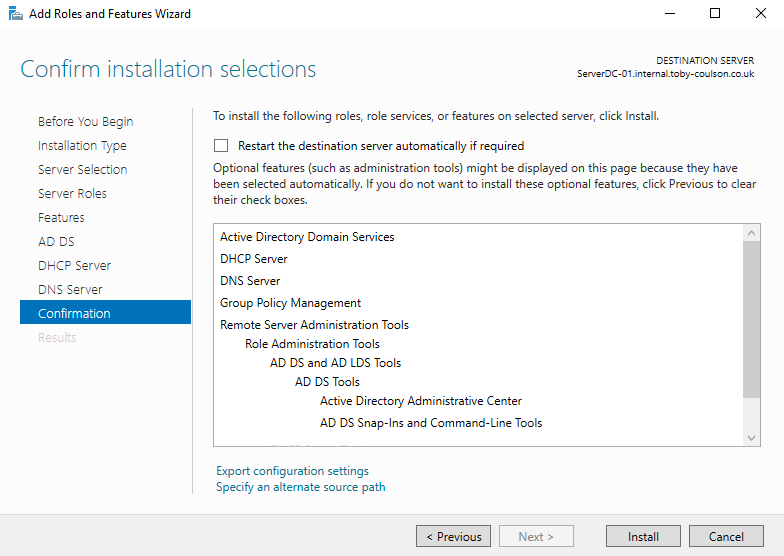
The final confirmation page will inform you what roles and features will be installed. Click on ‘Install’ to continue with the installation. After installing ADDS you will need to restart the server. This is not the case for all features that can be installed but is required here.
 Confirmation
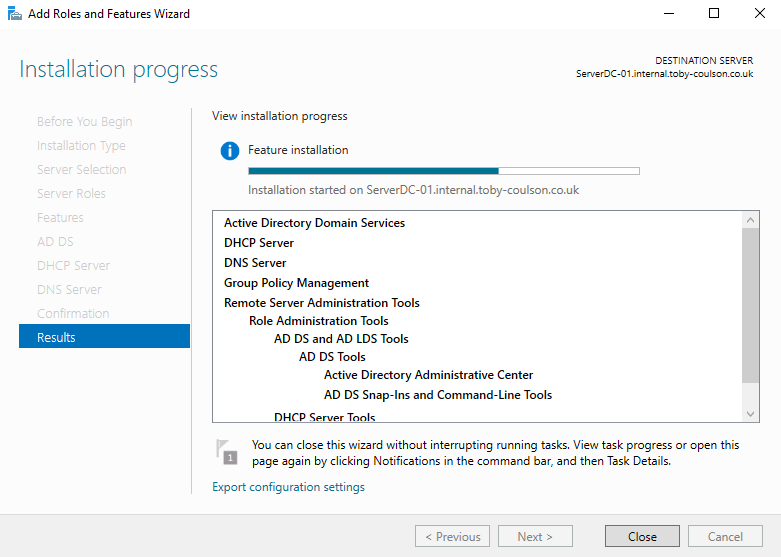
This will now start the installation process. This can take a few minutes to complete.
 Installation
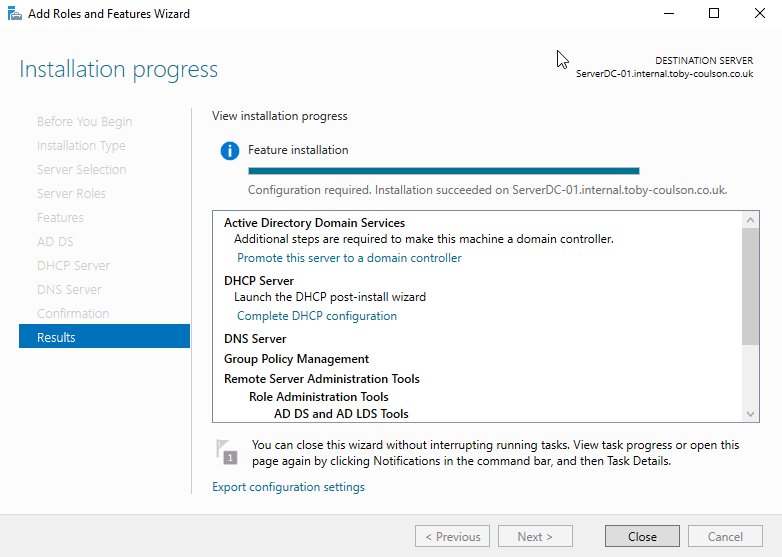
Once this is complete, it will output the results of the installation and give you the option of completing any additional configuration steps that might be required. You can also click on ‘Close’ and complete the additional steps by clicking on the warning triangle next to ‘Manage’. From here, the next step is to promote the server to a domain controller. This enables the server to take on the domain controller role.
 Installation Complete
Configuring the Domain Controller
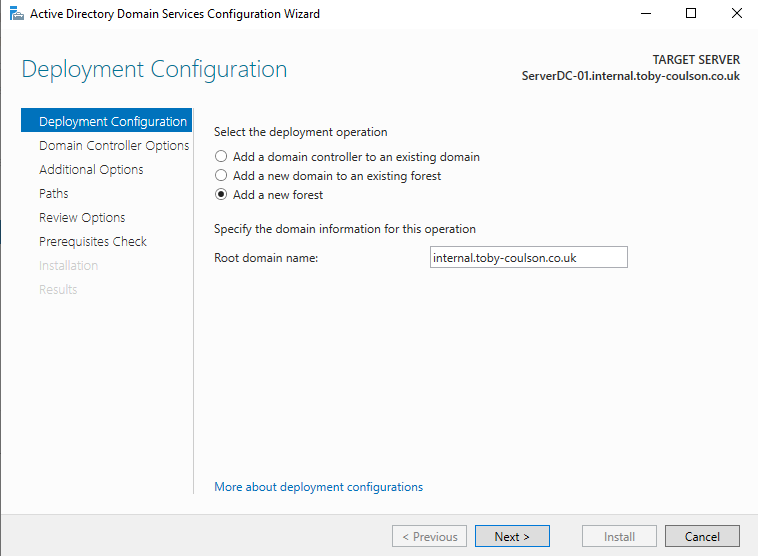
Next we need to either add the controller to a domain if it already exists, or in this case, create the domain. Select ‘Add a new forest’ and then input the root domain name. In this case I have chosen internal.toby-coulson.co.uk. For lab work the domain name does not need to be registered (as long as its not a registered name already). Microsoft’s recommended best practice here is to use a subdomain of a domain you own. eg subdomain.company.com. A TLD or domain ending in .local is not recommended and neither is a company.com domain. More information can be obtained here: Microsoft - AD Best Practices
Note:
- Microsoft strongly recommends that you register a public domain and use subdomains for the internal DNS.
- So, register a public DNS name, so you own it. Then create subdomains for internal use (like corp.example.org, dmz.example.org, extranet.example.org) and make sure you’ve got your DNS configuration setup correctly.
 Creating the Domain
The next page requires you to set the Directory Services Restore Mode password along with selecting whether this server is to also act as a DNS server. We also need to chose the functional level. There will be no older Windows Server versions installed so this can be kept at Windows Server 2016 functional level.
 Setting the Options
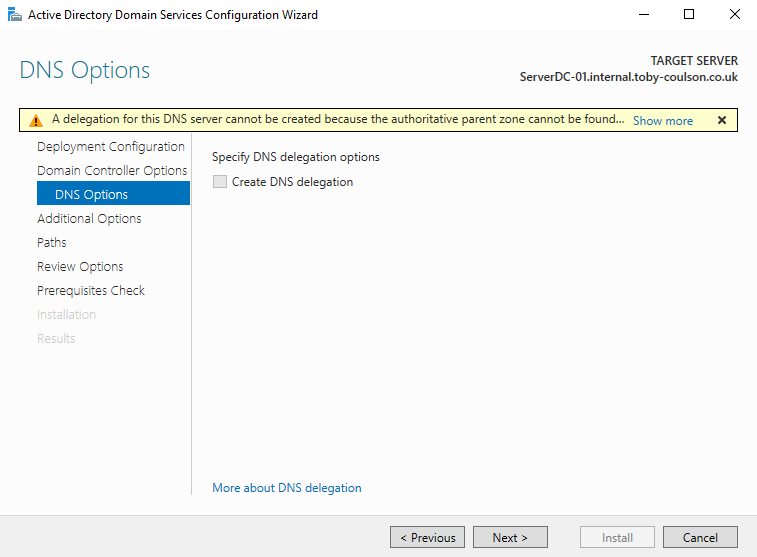
The next section can be skipped over, we have not setup DNS yet on the server and one does not already exist in the domain.
 DNS Options
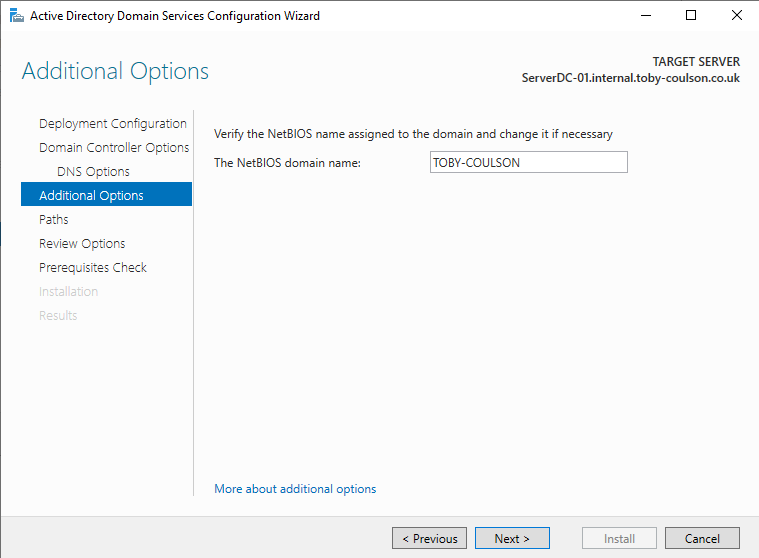
If you have set your domain to be subdomain.company.com, then for the NetBIOS name, it will default to the subdomain. For me it has defaulted to INTERNAL. Change this to your company name (ie toby-coulson). This is what users will see when they login (company\username) so it makes sense to change it to something that will not be confusing to them.
 NetBIOS Name
The next page will create the database files that AD will use. This is replicated to other domain controllers in the domain. A reason to change this could be if the database is going to be very large and the C: drive might not have enough space to contain it. You could consider moving it to another drive. This can usually be left as the defaults.
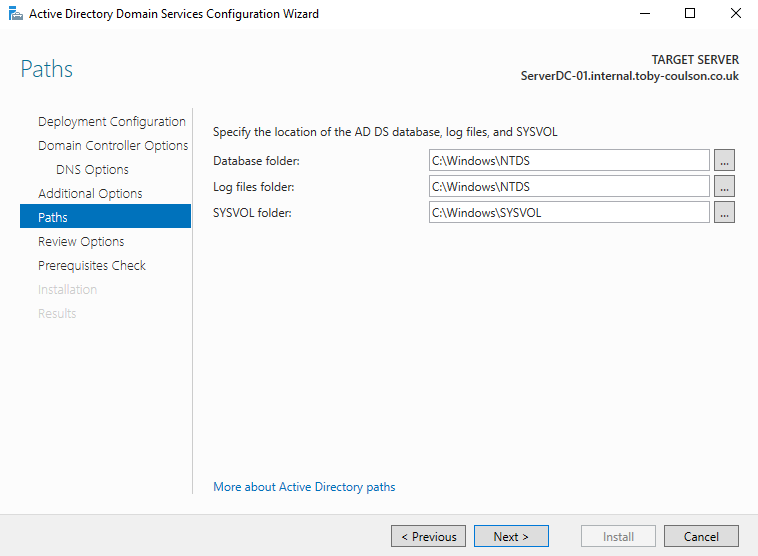 Database Paths
Click on Next to review the setup.
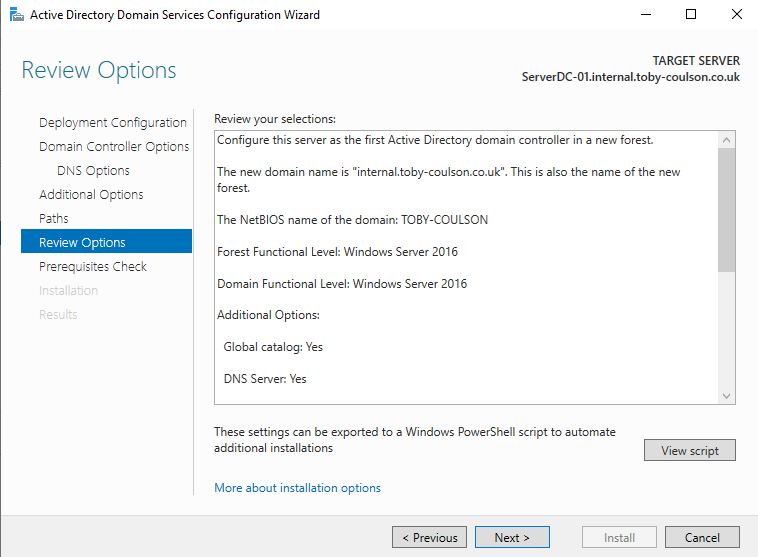 Review Options
Once reviewed, click on Next again to run the Prerequisites Check. There will be a couple of warnings and some information, but provided no errors, clock on ‘Install’ to complete the setup.
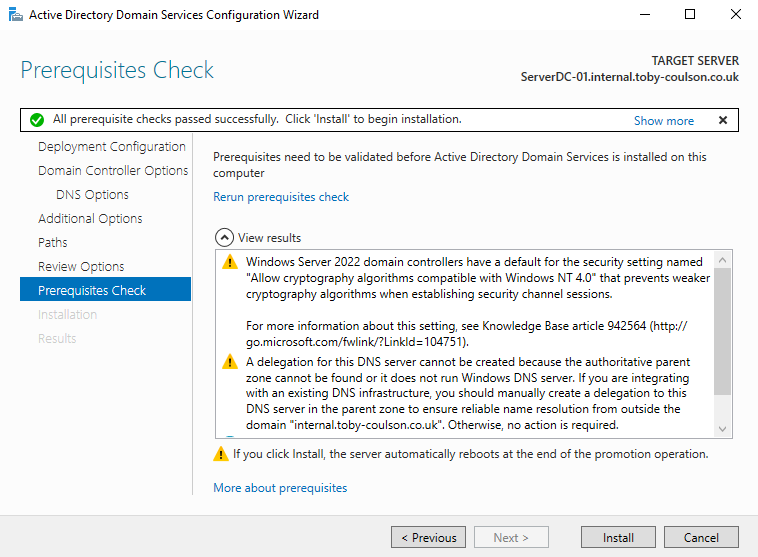 Prerequisites Check
Once complete, the system will automatically restart.
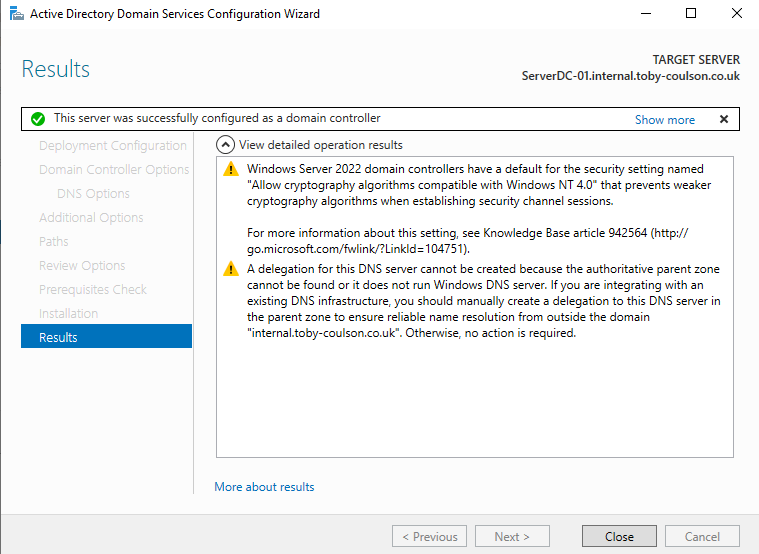 Installation Complete
Once complete, sign in using the administrator account. You can see here that the login has been set to the NetBIOS name and not INTERNAL\administrator like it would have been had it not been changed.
 Domain Login
When the server manager dashboard opens you will see you now have the ADDS role in the left tab. There will also be a number of tools available that were not there before.
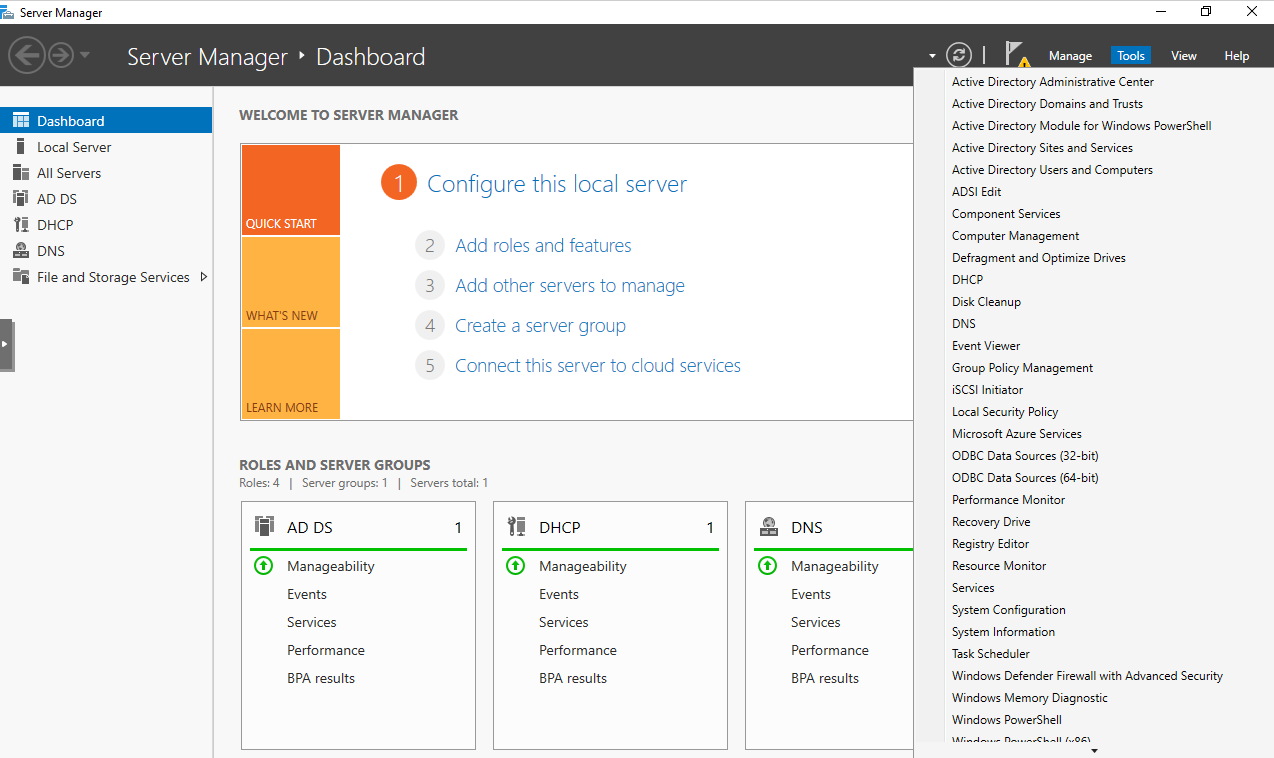 ADDS Role
From here we can create users, groups and create and assign policies, some of which I will go over in a future post.